
Anthropologie Knockoff DIY, Pink Puck Dangling Lace Top

Guest Post by Katherine:
We here at the Pink Puck love DIY projects, but DIY projects involving hockey are even better. Ever open a catalog or get an email with the perfect shirt? Then you see the price. Shock and horror. You want it but on your budget can’t afford the cool new duds. Well, my sister Winter fell in love with a high low t-shirt from a pricey store and asked for my help. Together we created a DIY on how to make your own shirt for much less.
The inspiration for our project adventure, Anthropologie Lingered Lace Top, we love the top, but not it’s $68 price tag. If we’re shelling out $68 it better be for a ticket to a game at our favorite arena.
With an abundance of hockey shirts filling our closet, we thought it would be fun to make our own cost effective version, we bring you the Pink Puck Dangling Lace Top.
* You will need basic sewing skills, or someone with them you can coax into helping.
You’ll need:
Hockey Shirt
Sewing Machine – you can hand sew, it will just take much longer and a lot more patience!
Pins
Thread that matches the color of your shirt
Scissors
3/4 yard sheer fabric – we chose a pattern that complimented our color scheme and the hearts were an added bonus.
Directions
1. Fold shirt in half and pin the center on bottom back. Measure against your back to make sure it isn’t too high.
2. Cut the back of the t-shirt to the mid back area, measure and pin t-shirt to mid back point approximately 9″.
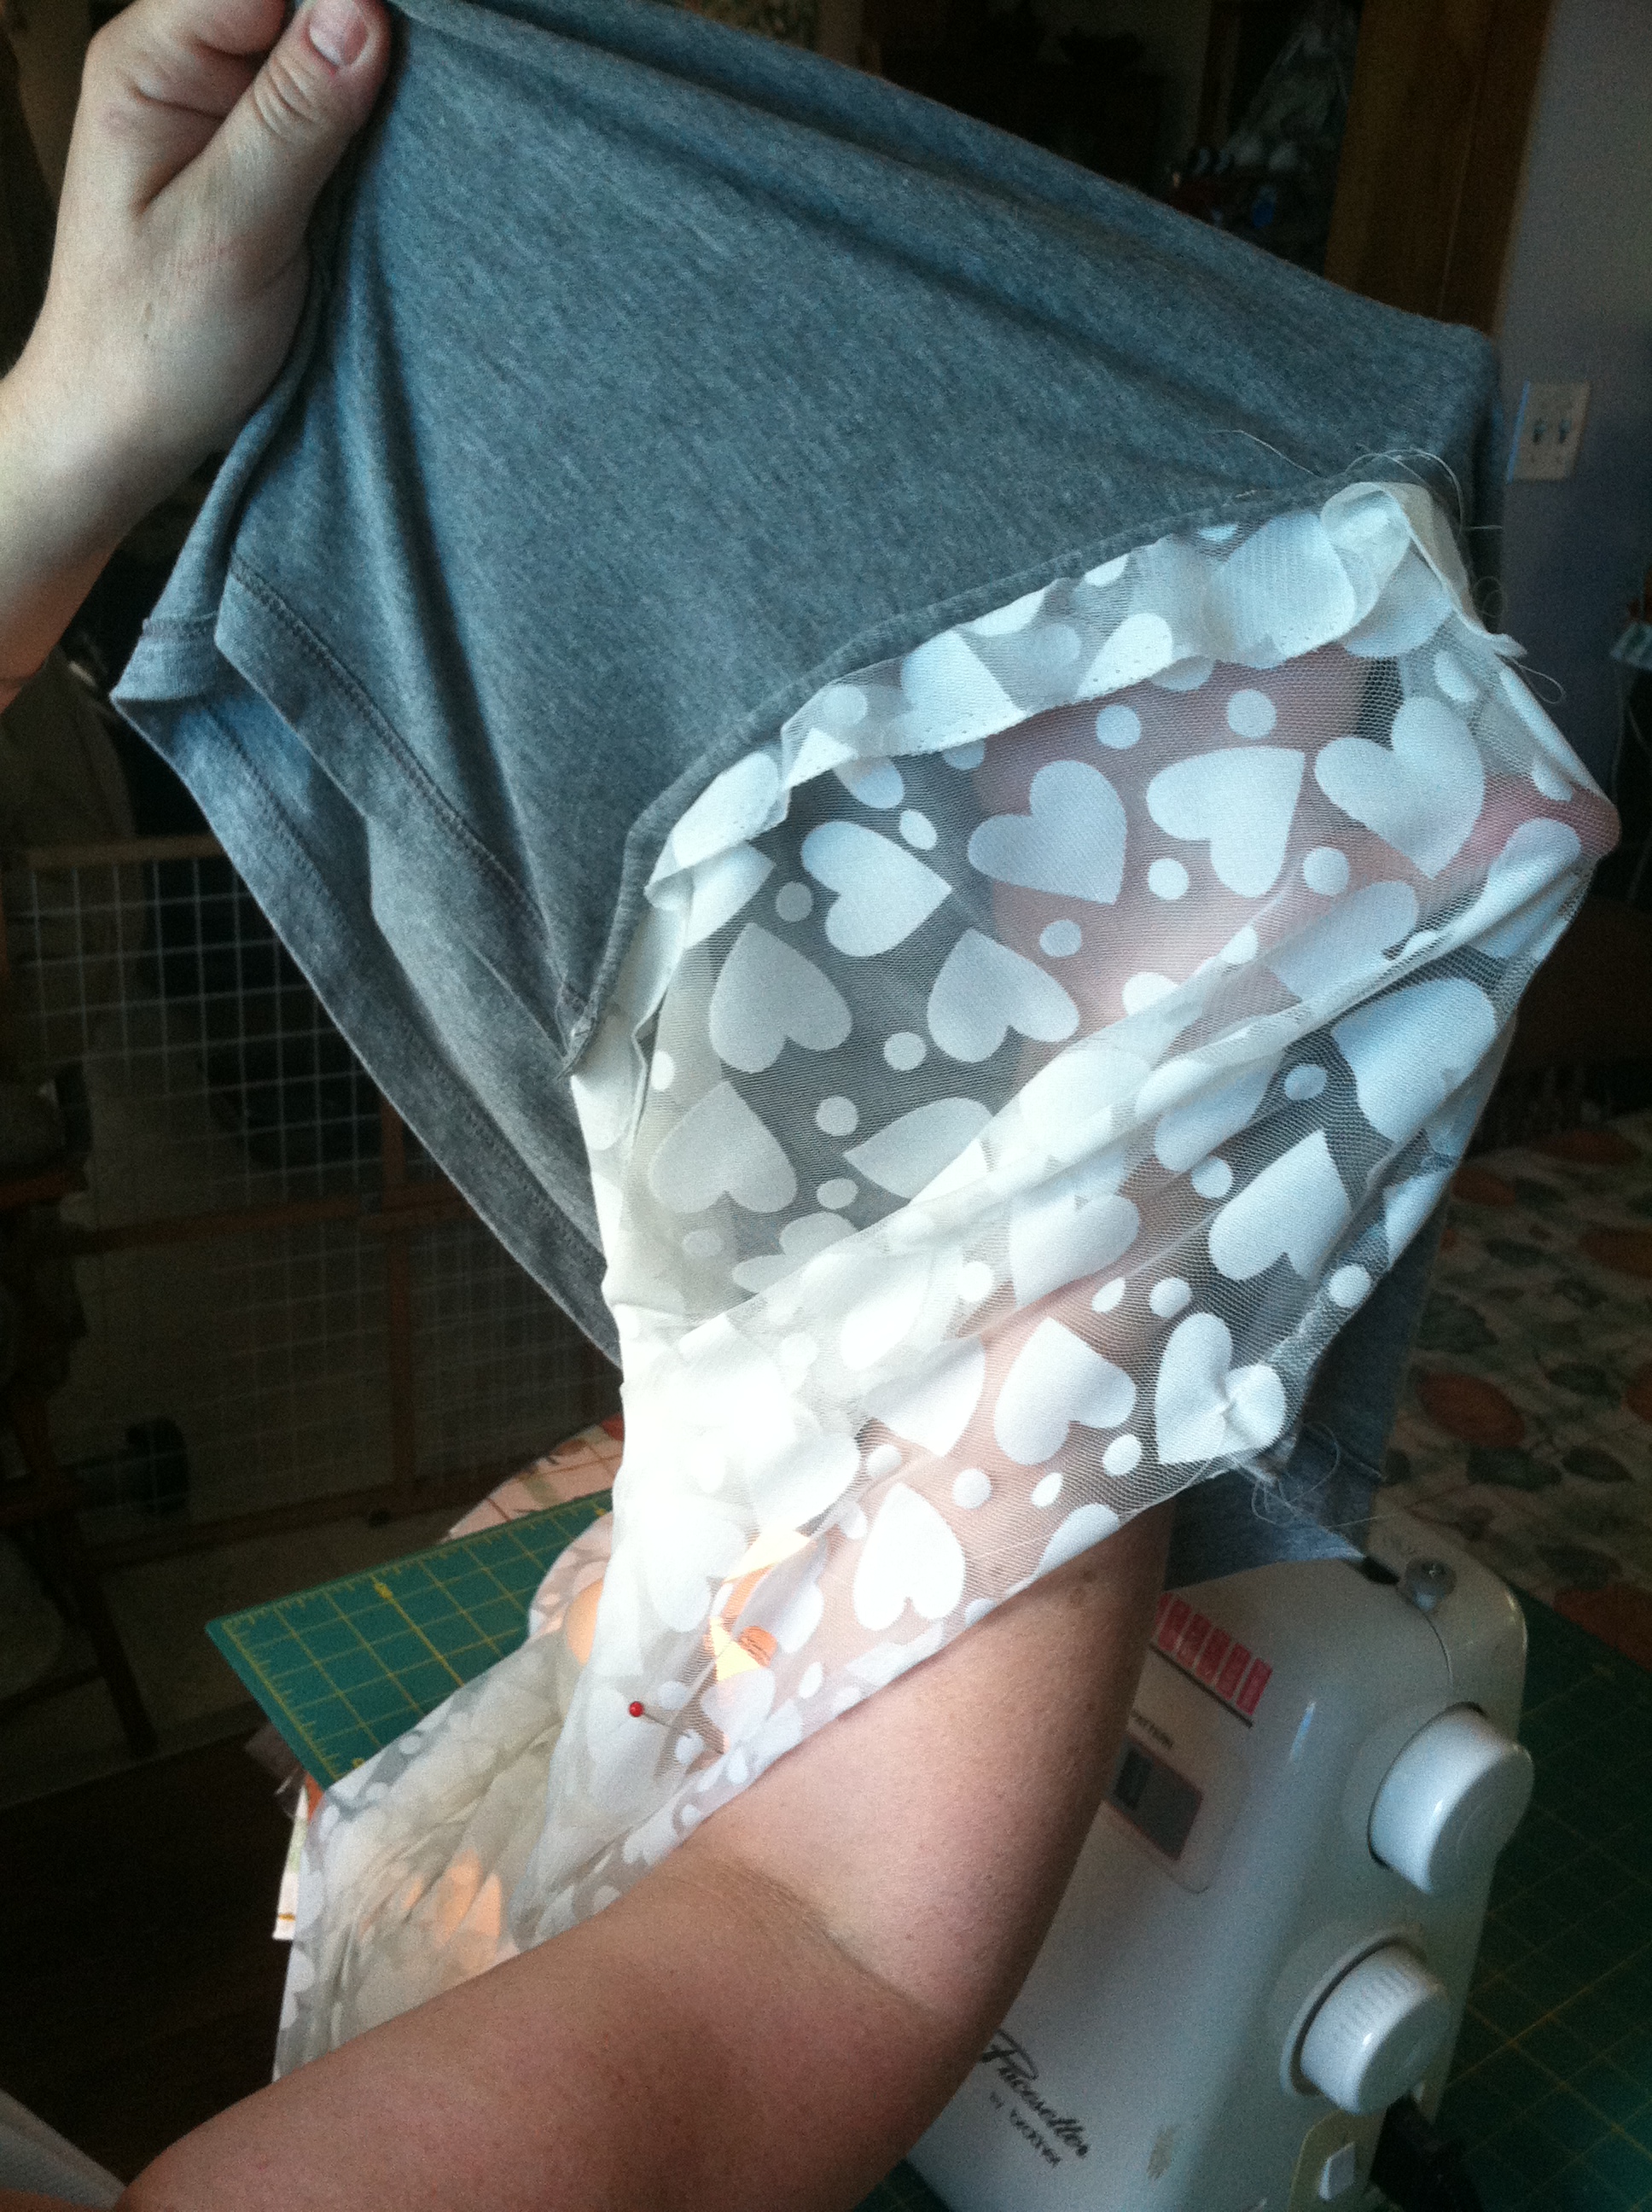
3. Turn t-shirt inside out, pin sheer fabric to “v” shaped cut. Right sides together and be sure not to stretch too tightly. Be careful at the v to make sure you don’t sew the lace twice.
4. Sew lace around the “v”, measure how far down you’d like the lace to hang, we chose it to fall 1/2 way across the butt, cut lace in ark. Make sure you cut on the stretching direction.
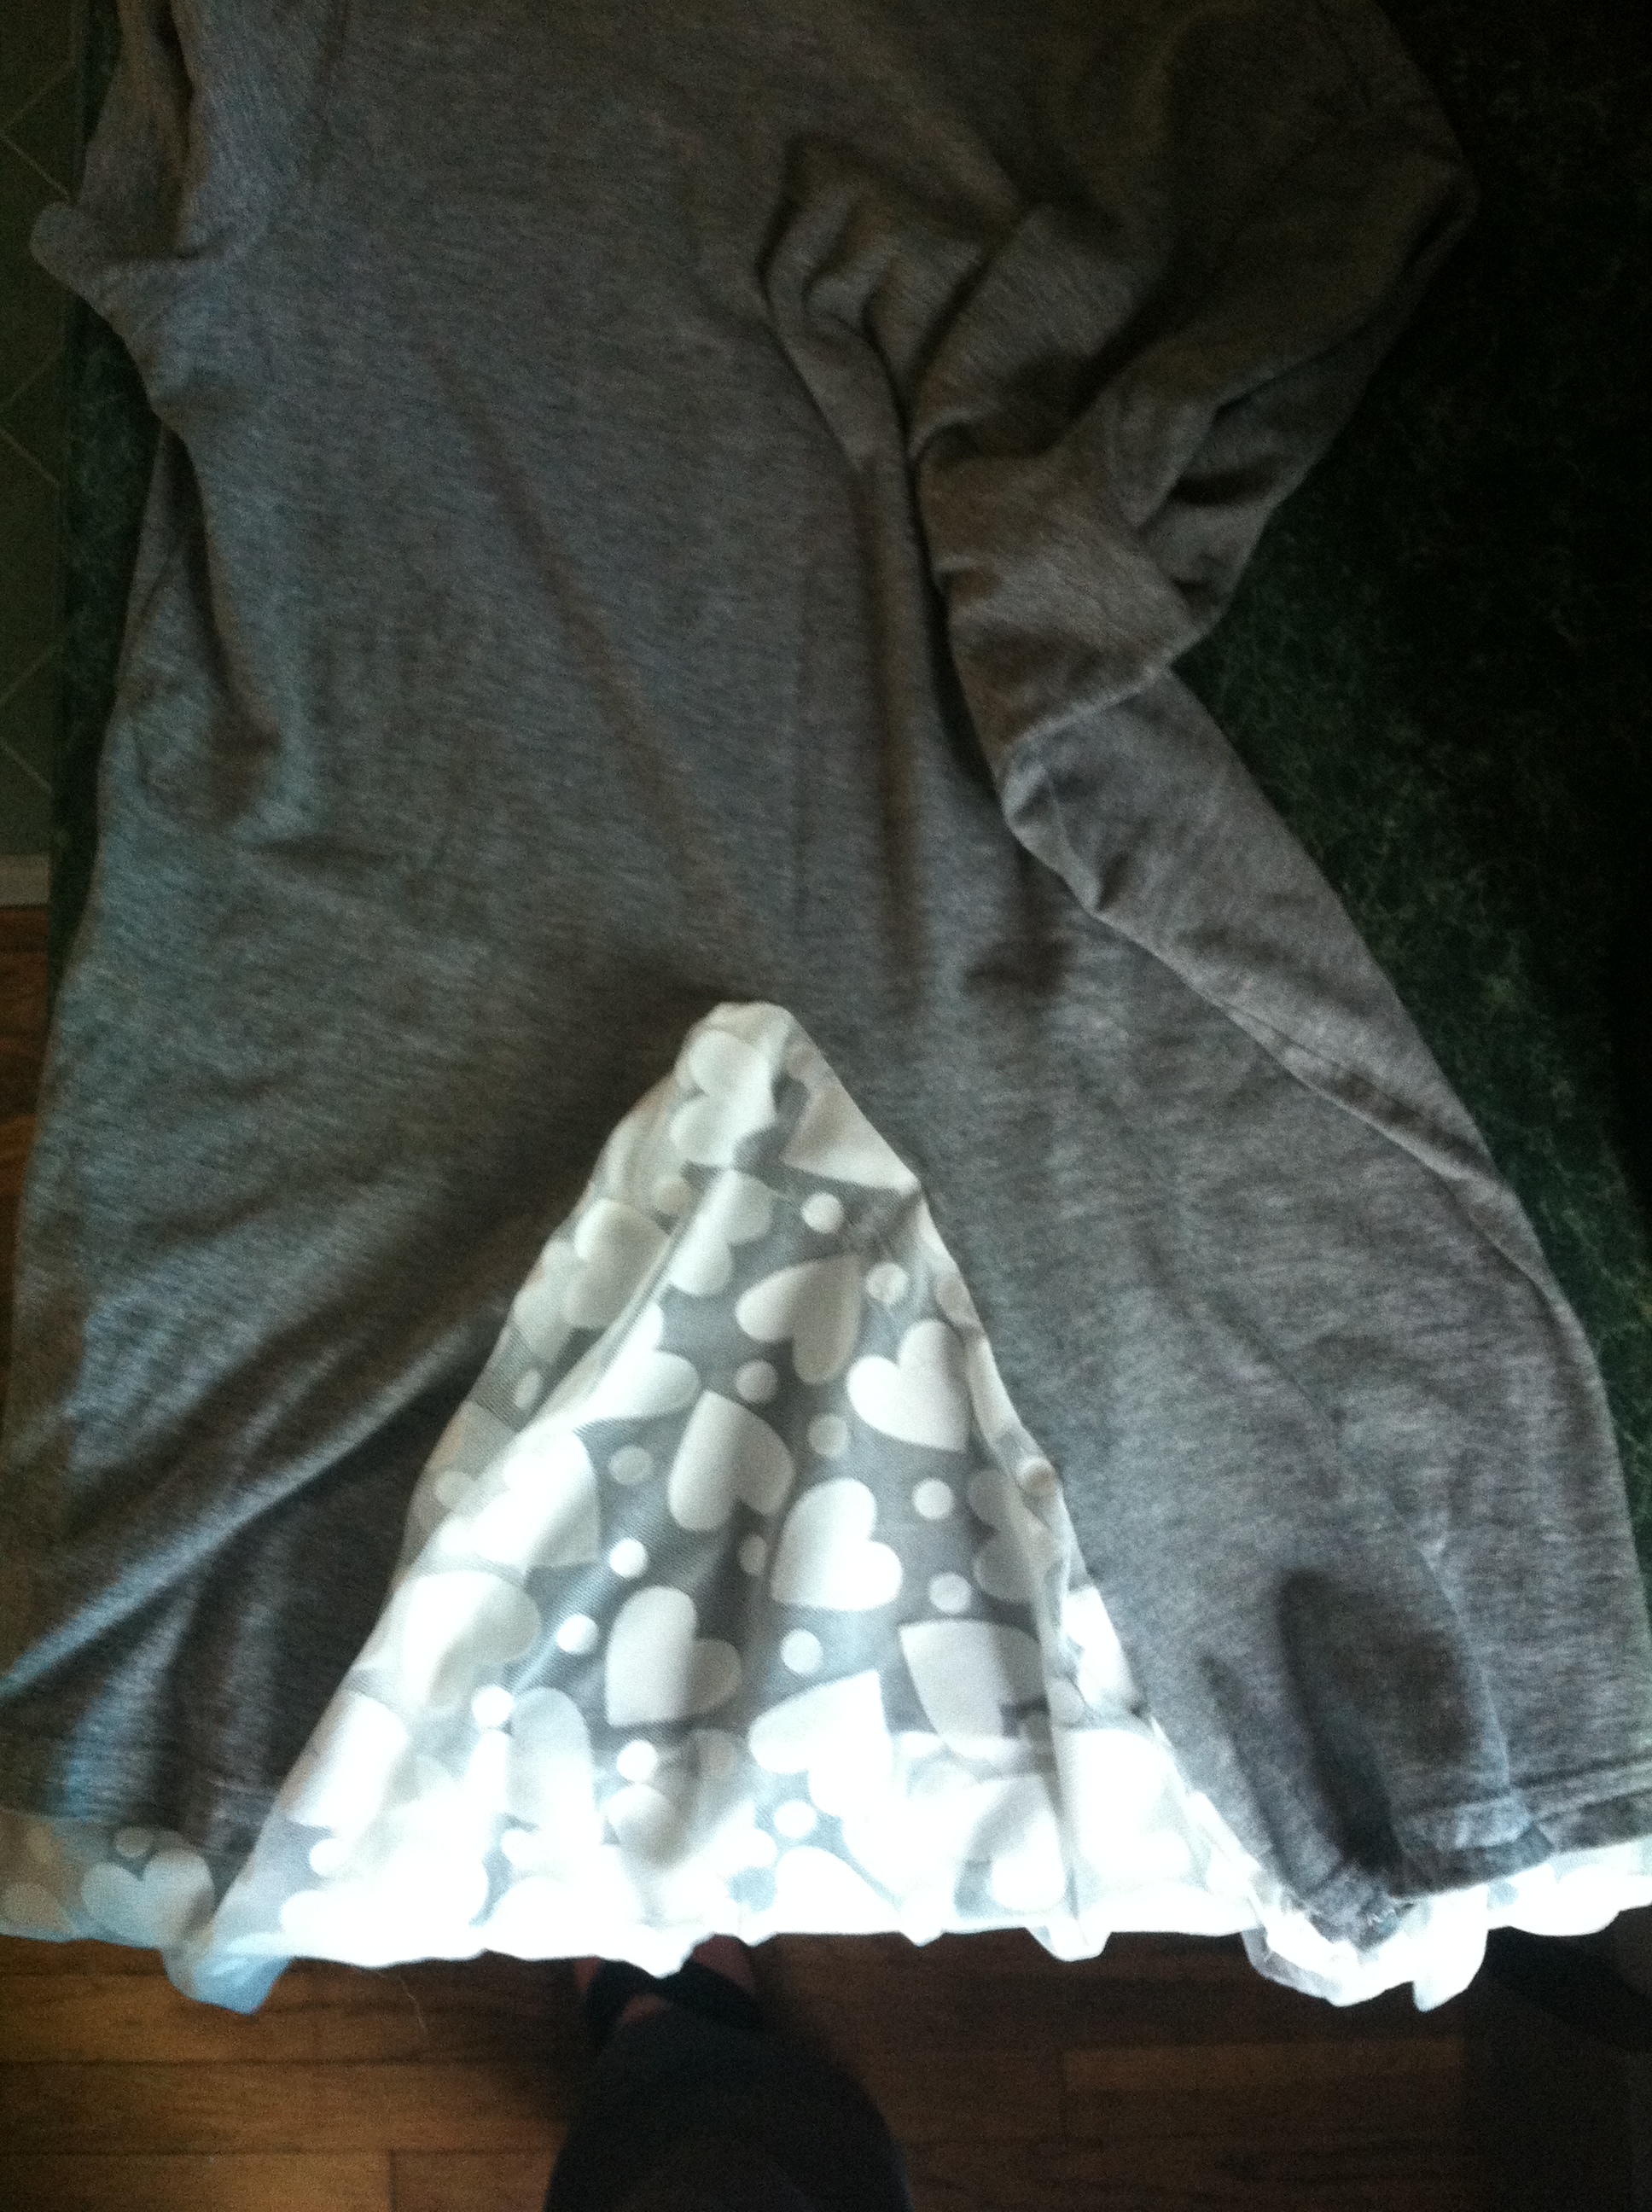
5. Next, measure the shortest length of lace and cut a strip the same width. This will go around the rest of the t-shirt.
6. Attach and sew the lace across front and sides of t-shirt, right sides together. Attach the edges to the lace panel back.
7. You can either hem the edges or leave them raw. We left ours raw thinking a hem might mess with the flow.

Back of shirt
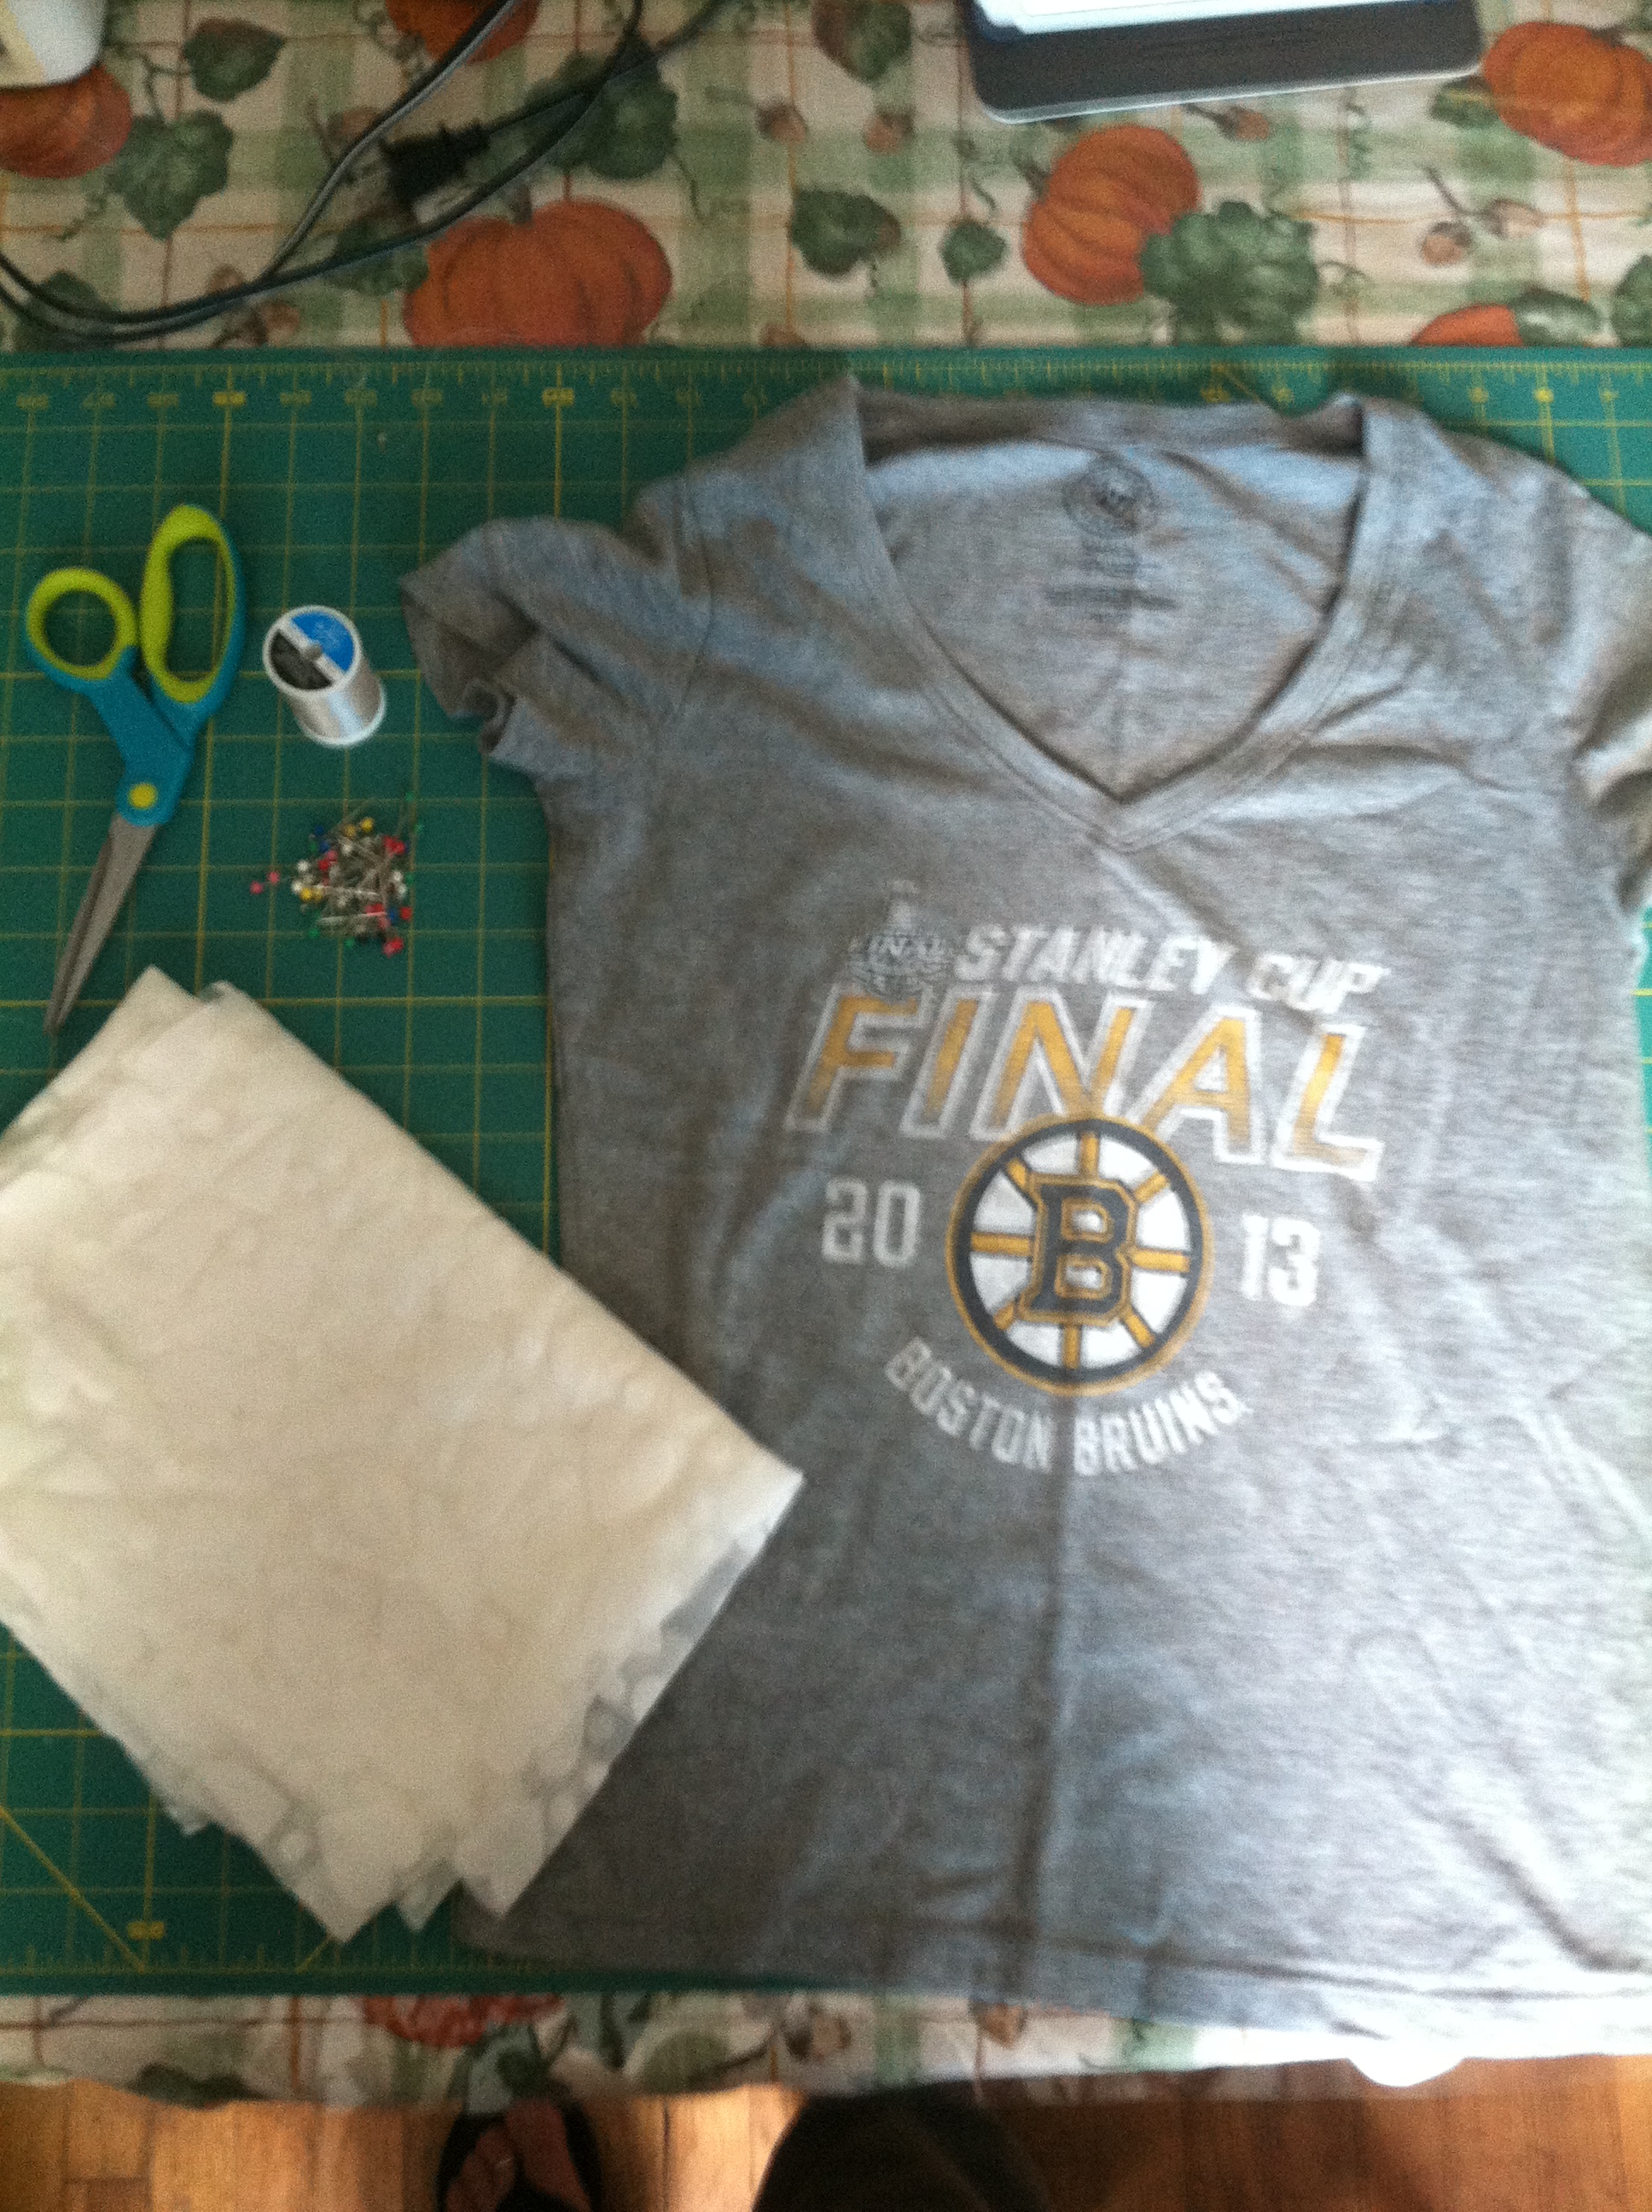
Supplies

Step 3
Sides sewn together
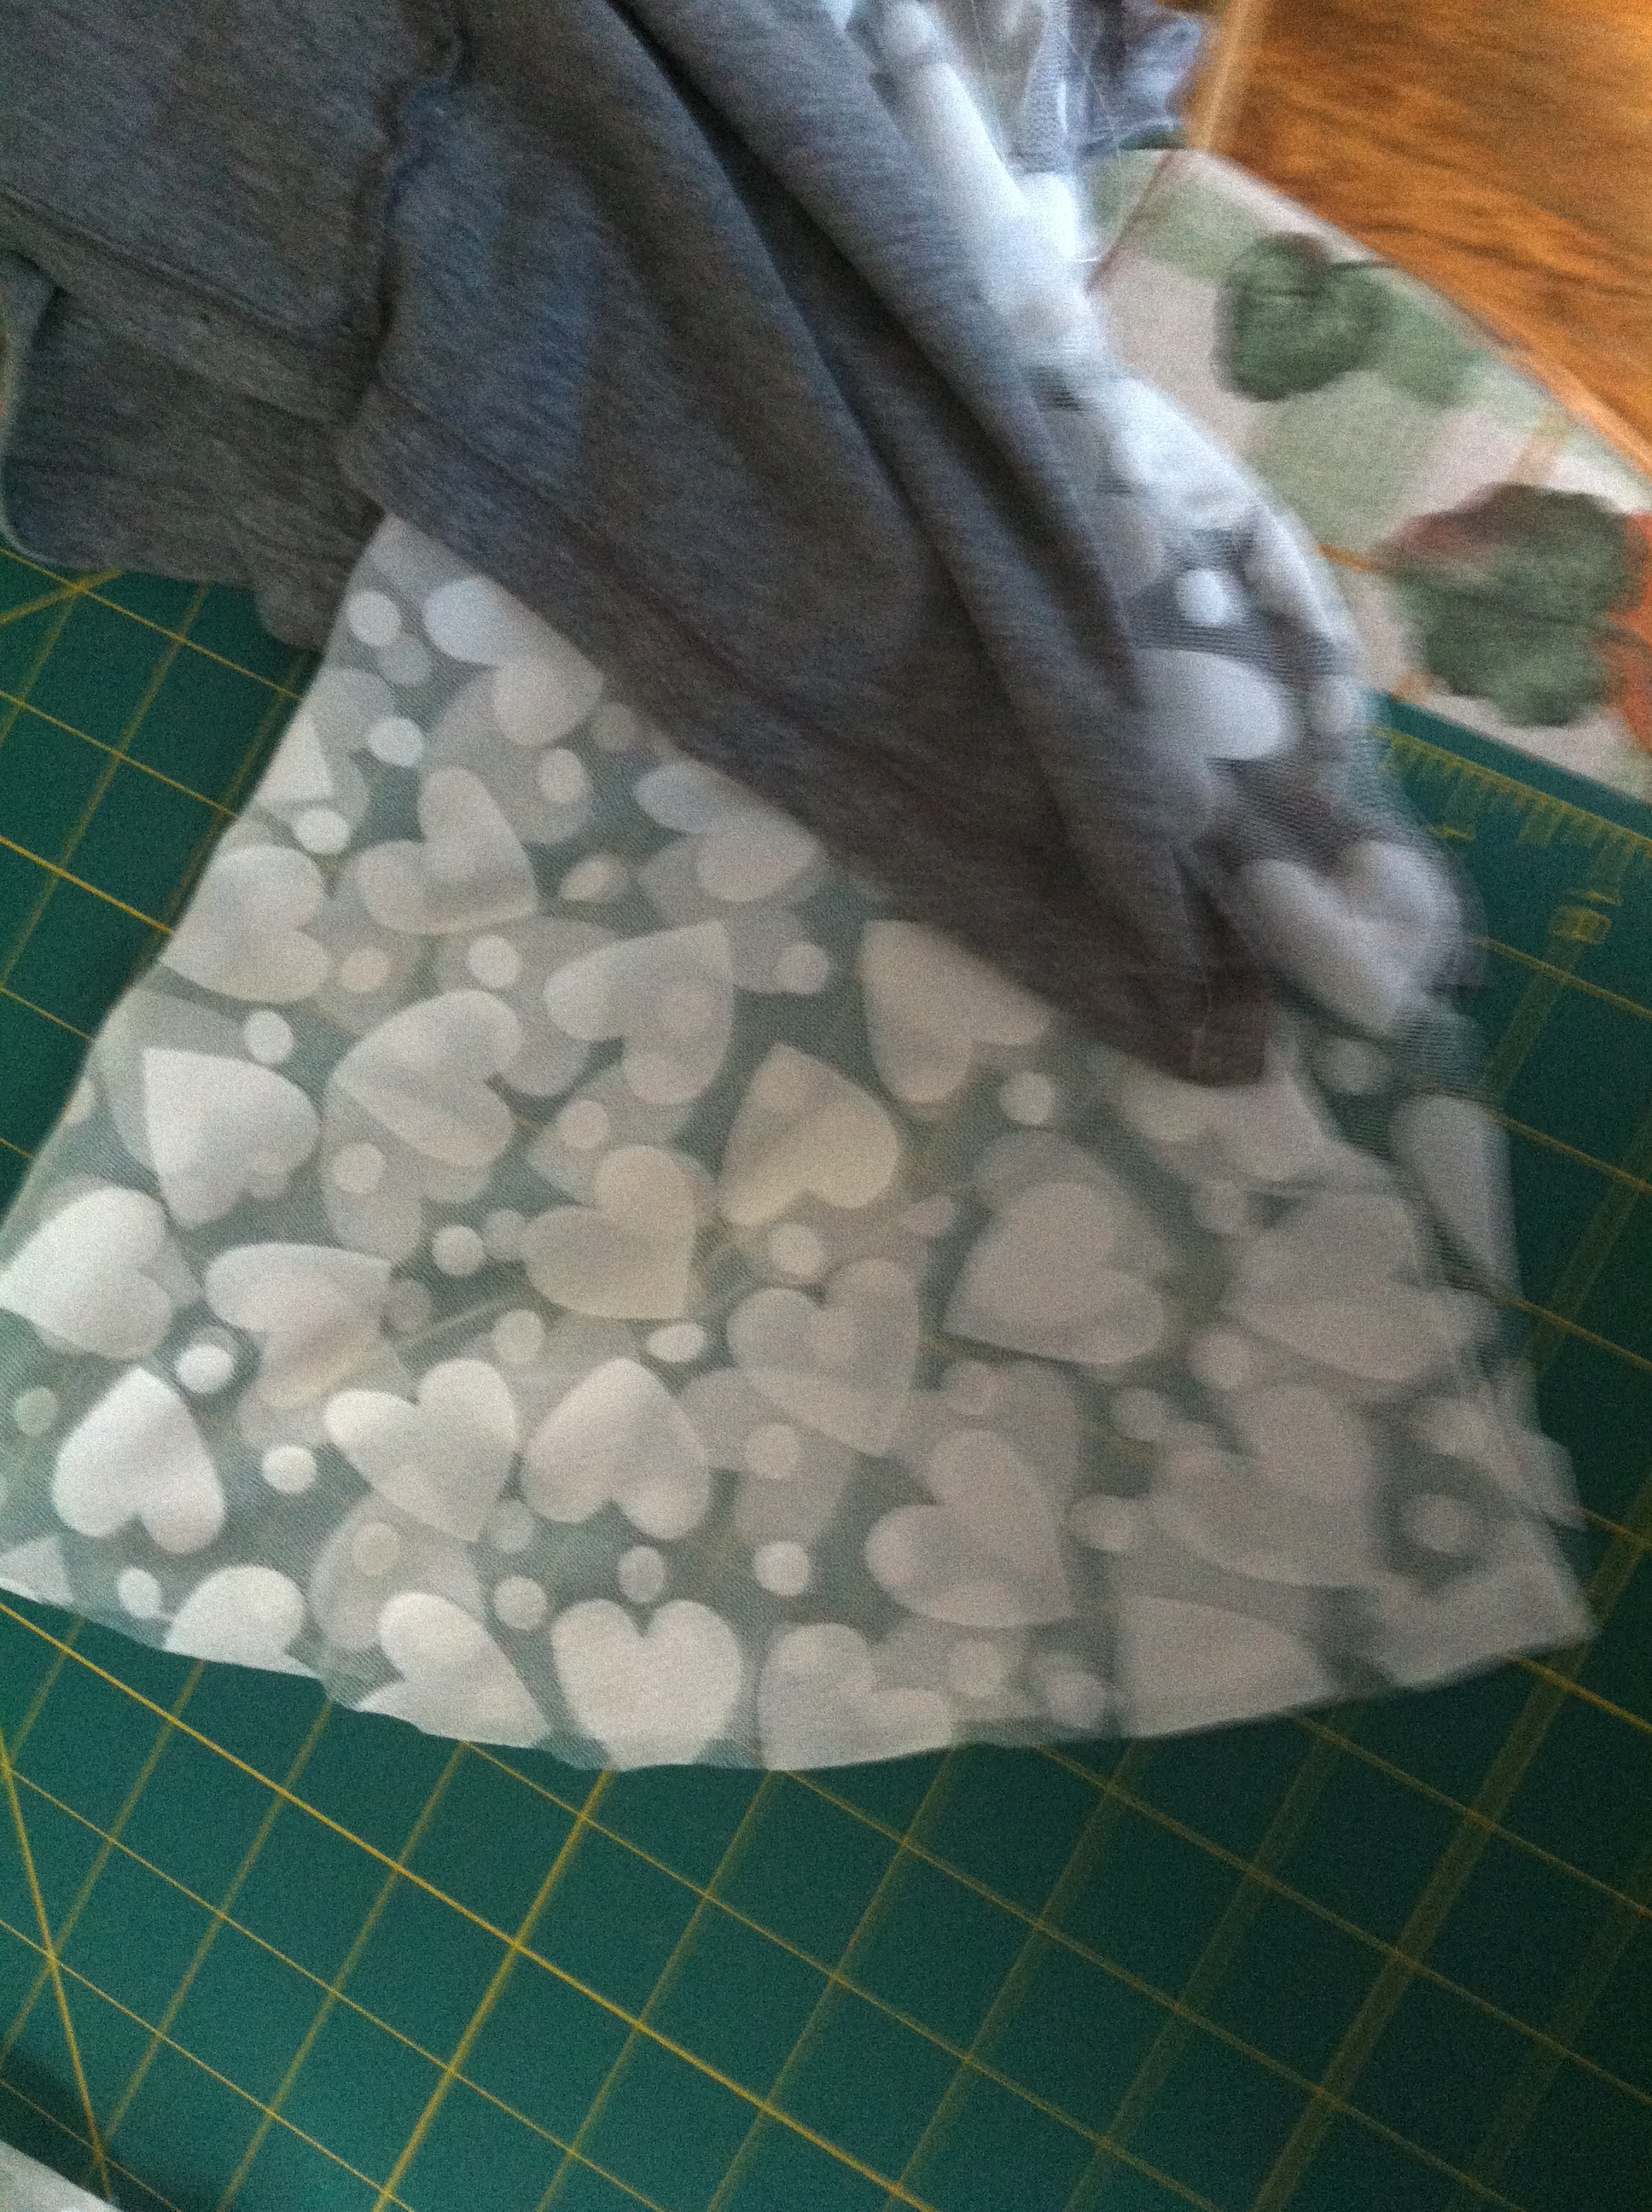
Cutting and sewing the “V”
T-shirt back


[…] is such a thing), resurface them. We’ve done two different DIY’s to help you out, here and […]