DIY: Hockey Activity or Place mats
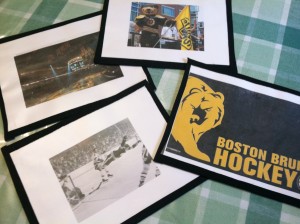 Whether it’s you that’s messy, your kids or maybe even your family pet, place mats can come in handy. You use place mats indoors, outside on the patio, or perhaps as activity mats for the kids. Why not try our DIY Hockey Place Mat Tutorial? These hockey place mats are quick and easy to make and the creative options are endless.
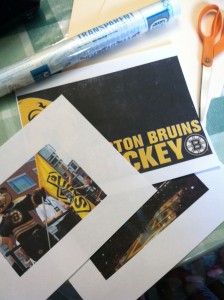 You’ll need:
Clear contact paper
Scissors
Poster board or manila file folders
Tape
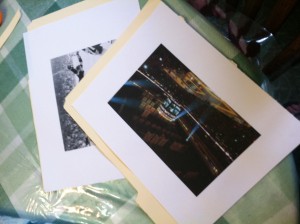
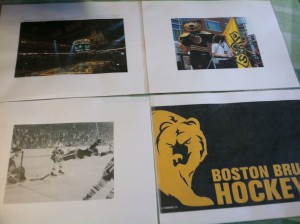
8×10 photos printed on standard computer paper – the amount of photos varies on how many place mats you plan to make. Be creative, make a pack of “Original Six” or a series of photos from you and your family at games. The opportunities are endless.
Hockey Tape (optional)
1. Print your photos on standard computer paper in LANDSCAPE format. If you’d like a glossier finish, you can certainly print them on photo paper as well. We chose a series of photos that are horizontal, we suggest you do the same.
2. If you’re using manila file folders, divide each folder in half, so you have two pieces. If you’re using poster board, you’ll obviously skip this step.
3. Place 4-5 pieces of tape on the back of your photo, then press onto whichever backing choice you’re using. Trim along the edges so you can’t see the backing.
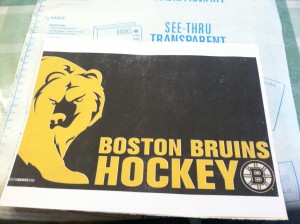 4. Before peeling the backing off of your contact paper, lay it flat across a surface (table, counter top, etc) and place your photo down and fold the contact paper over the top. You should have roughly a 20-22 in sheet of contact paper, cut the sheet. Move your photo off to the side and using your first piece as a guide for length, measure the remaining pieces 4 pieces for 4 mats, etc.
5. Peel back half of the contact paper and place your photo down, smooth it out. Peel the rest of the paper back and fold over the photo side of your mat. Smooth out any bubbles and put it to the side while you make the remaining mats.
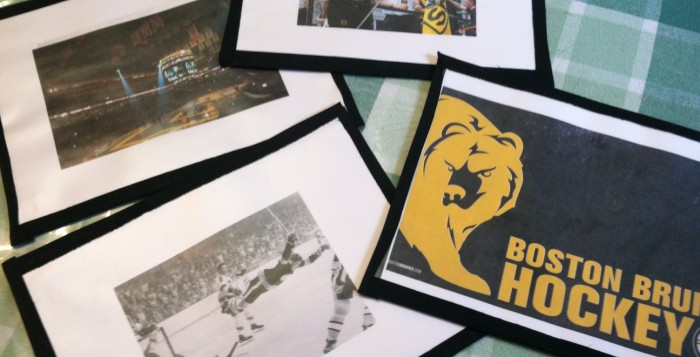
6. Trim any excess contact paper along the edges of your photo and voila, you can stop here. Or, and we recommend this – we chose to take it to another hockey level and added a hockey tape border. Place half of the tape along each edge, making sure to leave enough to folder over to the back side of the mat.
In about 15-20 minutes you’ll have hockey place mats/activity mats for the patio, the kids table, and anywhere else you choose. You can easily wipe them down with a sponge for quick cleanup.
They’re guaranteed to bring a smile to the table of any hockey family!



[…] DIY Hockey Activity/Place mats […]