DIY Hockey Earrings
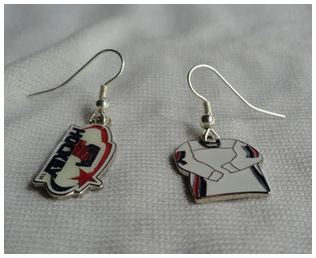
One thing I love about The Pink Puck is the seamless blend of hardcore hockey news and all things girly. You won’t find hockey fashion tips on just any site! I love accessories that show everyone I’m a proud fan of the best sport in the world. Today I wanted to share a little tutorial for these awesome hockey earrings I made.
I fell in love with, and had to have, this key chain from the USA Hockey Store. What can I say? It was adorable and on sale! However, when I got it in the mail I wasn’t as enamored with it as I originally thought – plus I already have a pretty cool Buffalo Sabres key ring. I knew I still loved this USA one, though, and the charms on it were just begging to be made into something even better. Sometimes an item’s original design just isn’t what it was meant to be. So I gave the key chain new life by turning it into earrings!
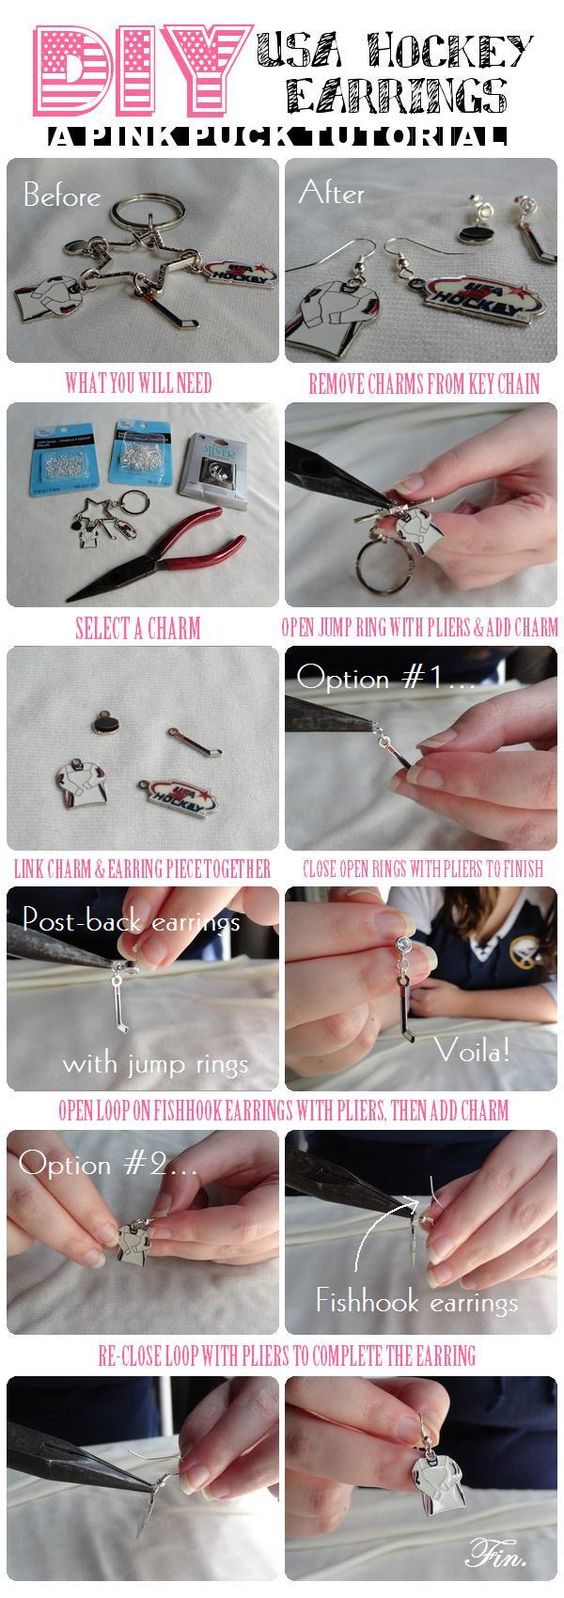
What you will need:
You don’t have to have a key chain like I did, as long as you have some kind of charms, you can make earrings like these. You could also make charms from Shrinky Dinks like Lyndsey did in her NHL Peter Pan Collar Tutorial. Or you could cut up old hockey cards and laminate them – be creative!
- Hockey charms
- Earring hardware (fishhook or post, available at craft stores)
- Jump rings (optional)
- Pliers
These are so simple anyone can make them, no matter your skill level. All you have to do is [1] remove your charms from your key chain using the pliers. You can skip this step if you made or bought loose charms. [2] Open your jump ring(s) or the loop on the earring piece with the pliers – the amount of jump rings you need depends on the orientation of the loop on your charm. You want your charm to face forward once it’s attached to the earring base. I used 2 jump rings on my first pair of earrings to achieve this. I didn’t use any for my second pair because the fishhook hardware has a nice loop you can open and close. And finally [3], re-close your jump ring(s) around the loops in your charm and your earring piece, linking them together. Or simply close the loop on the earring if you didn’t use any jump rings. And you’re done! Your earrings are ready to wear. Now go rock the rink!


