DIY: Projects To Keep You Entertained Through The Off-Season
Every hockey fan suffers from post season depression, some of us endure it longer than others. Last season the Bruins won the Stanley Cup and honestly, the depression never kicked in. I blinked and it was already training camp! This season it’s an entirely different story and between watching other teams fight for the right to hoist Lord Stanley, I’m looking at a lot of downtime before the NHL Awards in June.
So, I’ve decided to add a new off-season segment here at The Pink Puck. Every Sunday I’ll post a new DIY project to help fill your time before the puck drops in October. 90% of the projects will be hockey related, occasionally they won’t be, it happens. I can promise that 100% of the projects will cost $20 or less to make.
The Polka Dot Dress
Price: Under $10
Learn how to DIY after the jump
Supplies:
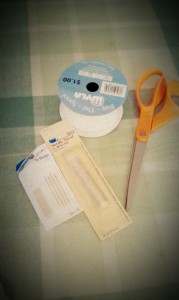
Scissors
Pins
Needle
Thread: I used 1 spool of silver metallic thread bought at Walmart for $1.79. Any thread that you like will do the trick!
1 Spool Lace: Pick a lace that you like, 1-1.5″ thick. A spool at the local craft store costs $1.
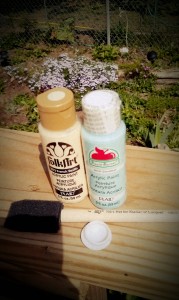
Fabric Paint: Any color that compliments the dress, be creative! I used a robins egg blue purchased for $0.79 at the craft store.
Bottle Cap: It depends on the size polka dot you’d like, I used the cap from a 2 Liter soda bottle but any size can work.
Sponge Brush: While it’s not a necessity, the sponge did come in handy to wipe off the excess paint from the bottle cap. Paper towel or a regular kitchen sponge should work as well.
Dish/Paper Plate: You’ll be putting paint in it for temporary use, so make sure it’s something that can be washed or thrown away.
Cardboard/Brown Paper Bag: This is for placement between the skirt layers to avoid paint seeping through to the other side.
1 Dress: The empire waist style will work best for this project, I used an empire waist white sundress found at the local thrift store for $2.99. Thrift stores are the best resource for projects, because they’re cost efficient to experiment with. Chances are you won’t cry if your $3 dress doesn’t turn out the way you imagined and you’ll be thanking your lucky stars that you didn’t buy a $40 one. If the thrift store just isn’t an option, stores such as Walmart and Target have very similar dresses for reasonable prices as well $10-15. Tip: Be sure to wash your dress before beginning this project.
Now that you’ve got your supplies, let’s get started!
1. Measure out pieces of lace, 1 strip at a time across the bodice of the dress. I found it easier to pin each strip once measured to keep it in place. Start at the top of the dress and measure/pin strips all the way down to the empire waist.
2. Stitch each strip of lace to the dress, starting from the top and moving down. You can use any stitch method that you’re comfortable with. If you aren’t overly confident with sewing don’t be afraid! A simple whip stitch will do the trick. (For a “How To” on whip stitch, please see the video at the bottom of the page.)
If sewing even a whip stitch is completely out of the question, you can use fabric glue. The glue is usually found at your local craft store. It might not be as durable as the good old needle and thread method, but it will surely still do the trick.
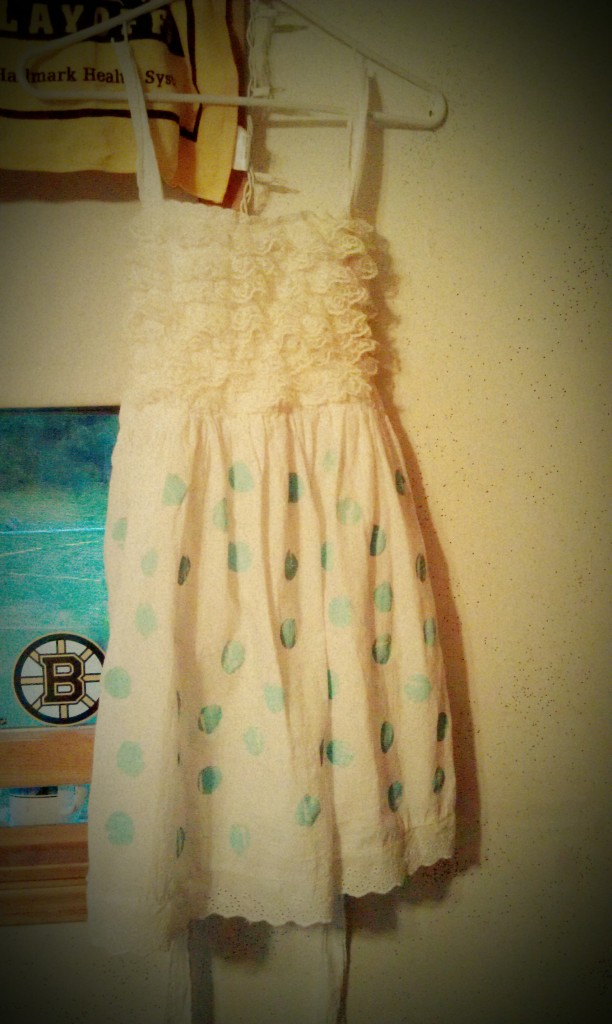
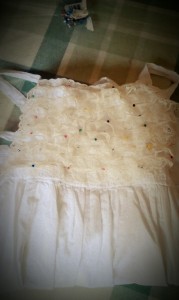
Phew, first part complete and it should look something like this…
3. Lay the dress on a flat surface and place the cardboard or paper bag between the skirt layers.
4. Pour your paint into the dish/plate and dip the top of the bottle cap into the paint. Press the cap onto the fabric of your dress. Repeat a lot or a little, go polka dot crazy. Here you could use different sized bottle caps, or a variety of paint colors. The dress is your palette!
5. You’ll repeat step 4 on the back of the skirt, but allow the front to dry for approximately 30-45 minutes before turning over.
6. Place the dress on a hanger and allow it to fully dry for a few hours.
Enjoy your masterpiece and email pictures of your completed DIY to winter@thepinkpuck.com
[tubepress video=”v9kGyZDWZcA”]

