DIY: NHL Peter Pan Collar Tutorial
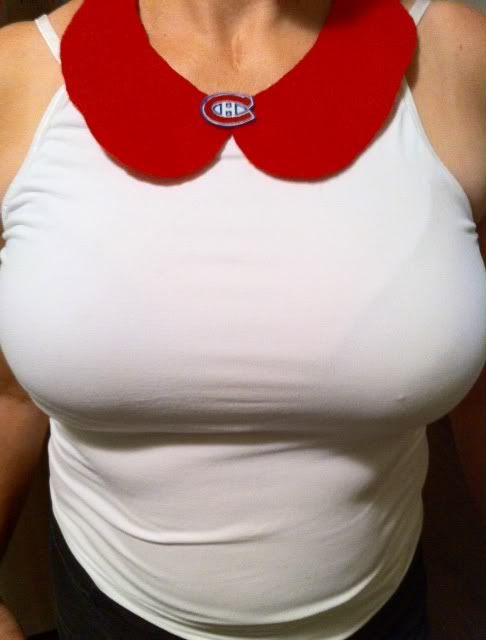
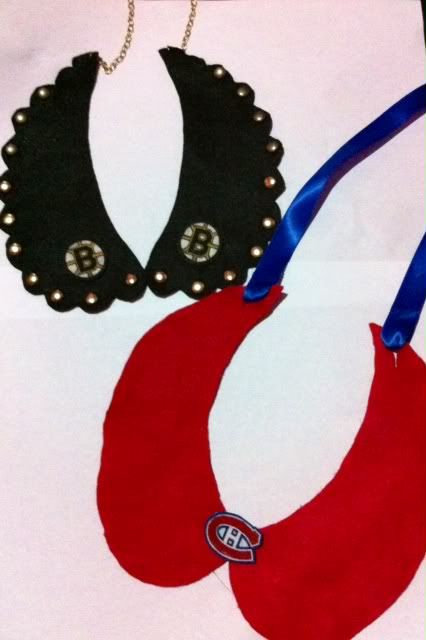
Here is a DIY tutorial for one of the hottest trends this year a Peter Pan collar. With the addition of the Peter Pan collar to your basic girly tees you can dress them up in an instant. This tutorial takes an NHL spin on this trend. Hope you enjoy it.
Materials
- Felt or your chosen fabric
- Needle & thread
- Ribbon or chain
- Hot glue gun + Glue
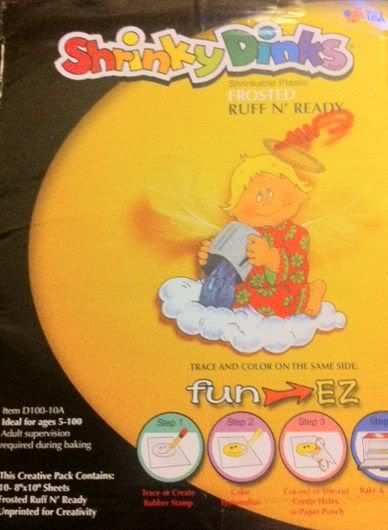
- Shrinky Dinks (Available at any craft store)
- Printer
- Pencil Crayons
- Scissors
- Pattern (found here and here)
- Straight Pins
Although the list of materials may seem overwhelming this tutorial is actually quite simple.
STEP 1
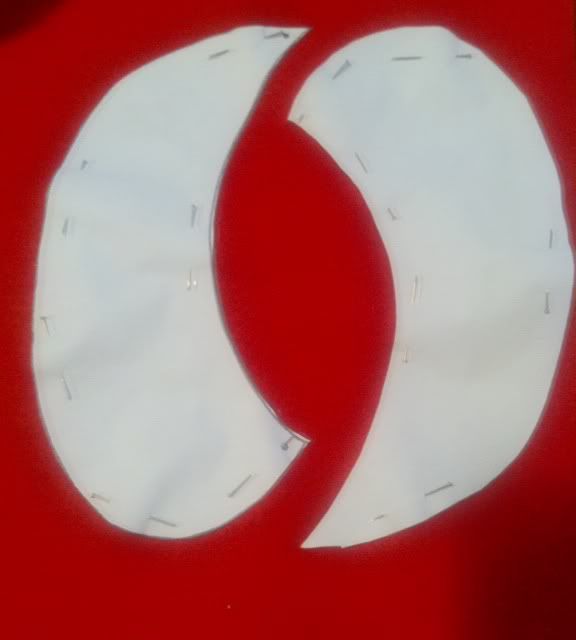
Print out the pattern. For this step you have your choice of patterns, Choice 1 or Choice 2. You can also free hand or create your own.
STEP 2
After you print your pattern cut it out.
STEP 3
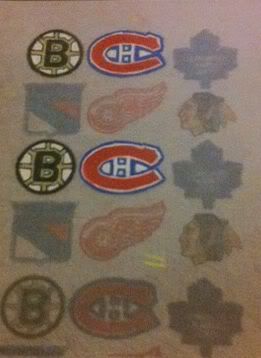
Print out your team logo on the Shrinky Dinks. For this step, I copy and pasted 3 logos on a word document prior to print out. Remember when picking out your logo to print that when you bake them they will shrink.
STEP 4
Once you print out the logo you might want to colour in the logo with the pencil crayons. This is not a vital step but it really helps the colours on the Shrinky Dink pop when you bake them. Again this isn’t a mandatory step but it is recommended.
Follow directions on Shriny Dinks package.
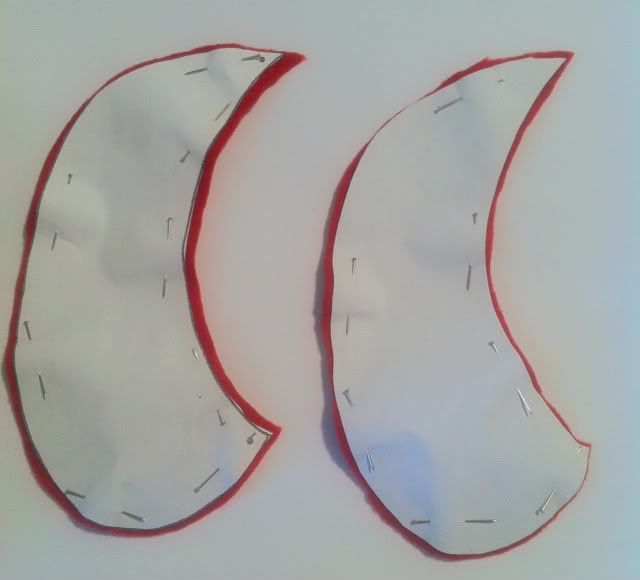
Take straight pins and pin the patter to the felt.
STEP 7
Cut out the pattern.
STEP 8
Remove the pins
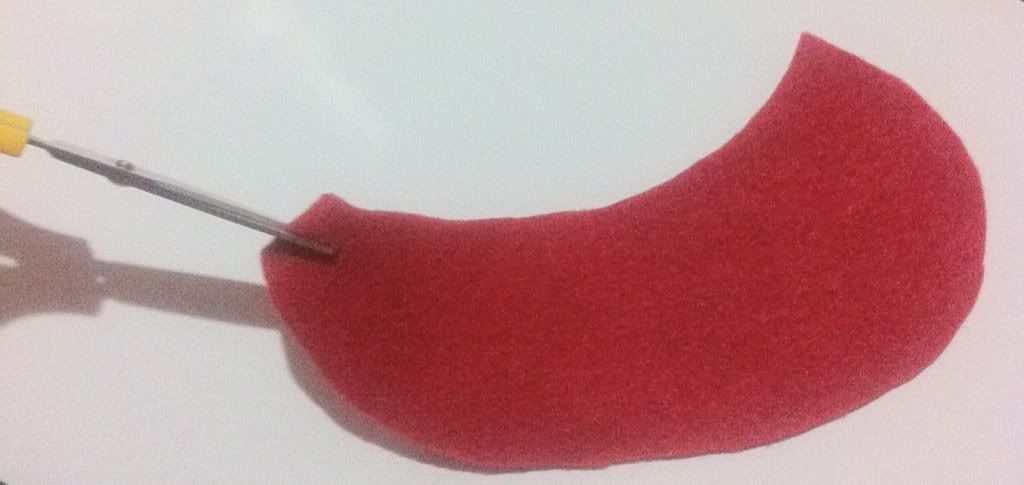
Make a tiny cut with the scissors on the top on the felt with your scissors. Do this to both pieces of felt.
STEP 10
Plug in glue gun.
STEP 11
While your glue gun is heating up cut 2 pieces of ribbon about 10 inches long each. The length of the ribbon is entirely at your discretion and preference.
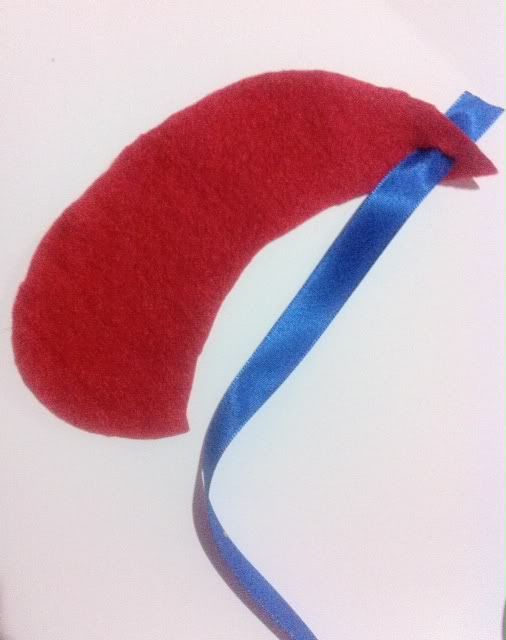
Put about an inch of ribbon through the hole you cut at the top of the felt.
STEP 13
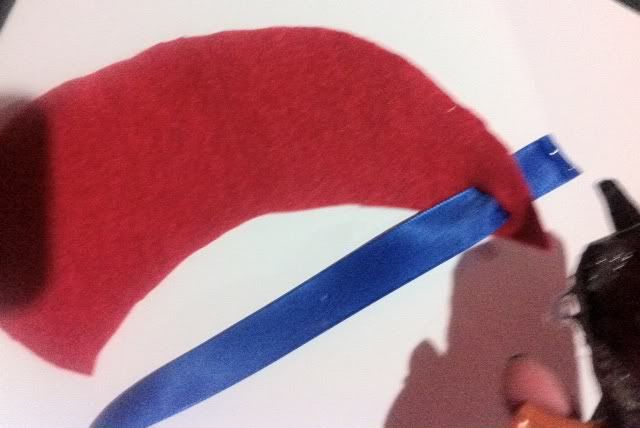
Put some hot glue on the edge of the ribbon that you just put through the hole. Now fold the ribbon back onto the ribbon creating a loop. Do this on each piece of felt.
STEP 14
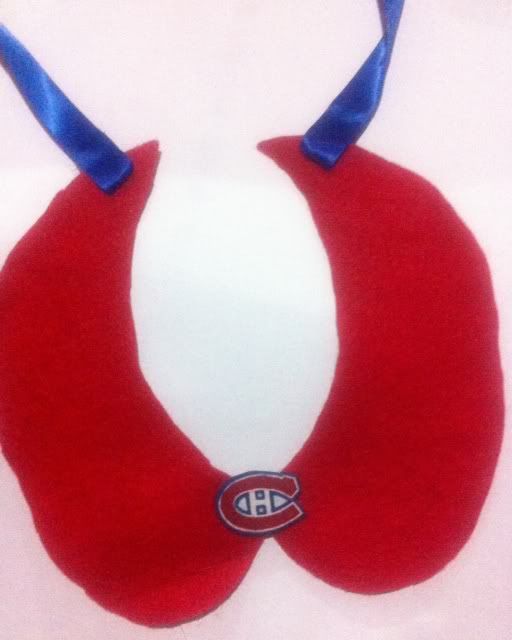
Take your needle and the thread and stitch the front of the Peter Pan collar together.
STEP 15
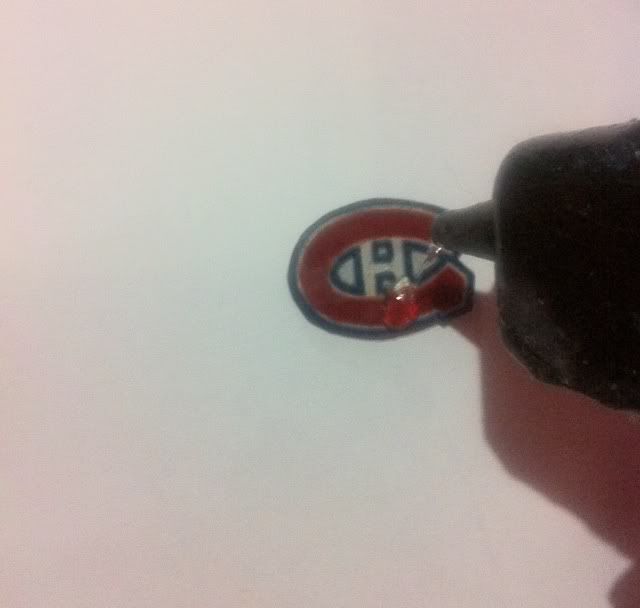
Take your glue gun again and put glue on the back of your Shrinky Dink team logo.
STEP 16
Now if you have one Logo put it in the middle however if you want 2 put one on each side of the felt.
Once you’ve mastered this tutorial you can add extras, get creative and make it your own. If you do make this tutorial send us your photos: pinkpuck@thepinkpuck.com




[…] can make earrings like these. You could also make charms from Shrinky Dinks like Lyndsey did in her NHL Peter Pan Collar Tutorial. Or you could cut up old hockey cards and laminate them – be […]
[…] Un collier facilement réalisable avec du feutre et une aiguille. Toutes les étapes de la réalisation sont ici. […]